Gunite Swimming Pool Construction Process
If you're considering building a gunite swimming pool, understanding the construction process is crucial. This article will guide you through each step, ensuring you have a comprehensive overview of what to expect. Let's dive into the world of gunite pool construction.
The gunite swimming pool construction process involves careful planning, excavation, steel reinforcement, plumbing installation, gunite shell creation, tile, coping, concrete patio pouring, plastering, and meticulous attention to detail.
The Gunite Swimming Pool Construction Process
Step 1: Utilities Mark Out
Before digging begins, it's essential to mark out underground lines such as gas, water, and electric. This ensures safety and prevents damage to utilities. This step, often performed with precision, sets the foundation for a successful pool construction process.
Step 2: Pool Layout
The construction manager meets with the homeowner to finalize the pool's position in the yard. This step involves meticulous planning and attention to detail. Once completed, the dig date is set, and the project moves forward.
Step 3: Excavation (Dig)
During excavation, the pool's shape is framed out with wood and rebar to follow the design. Additionally, a stone bed of 3/4" stone is applied to provide a solid base for the next steps. This stage is vital to ensure the pool's structural integrity.
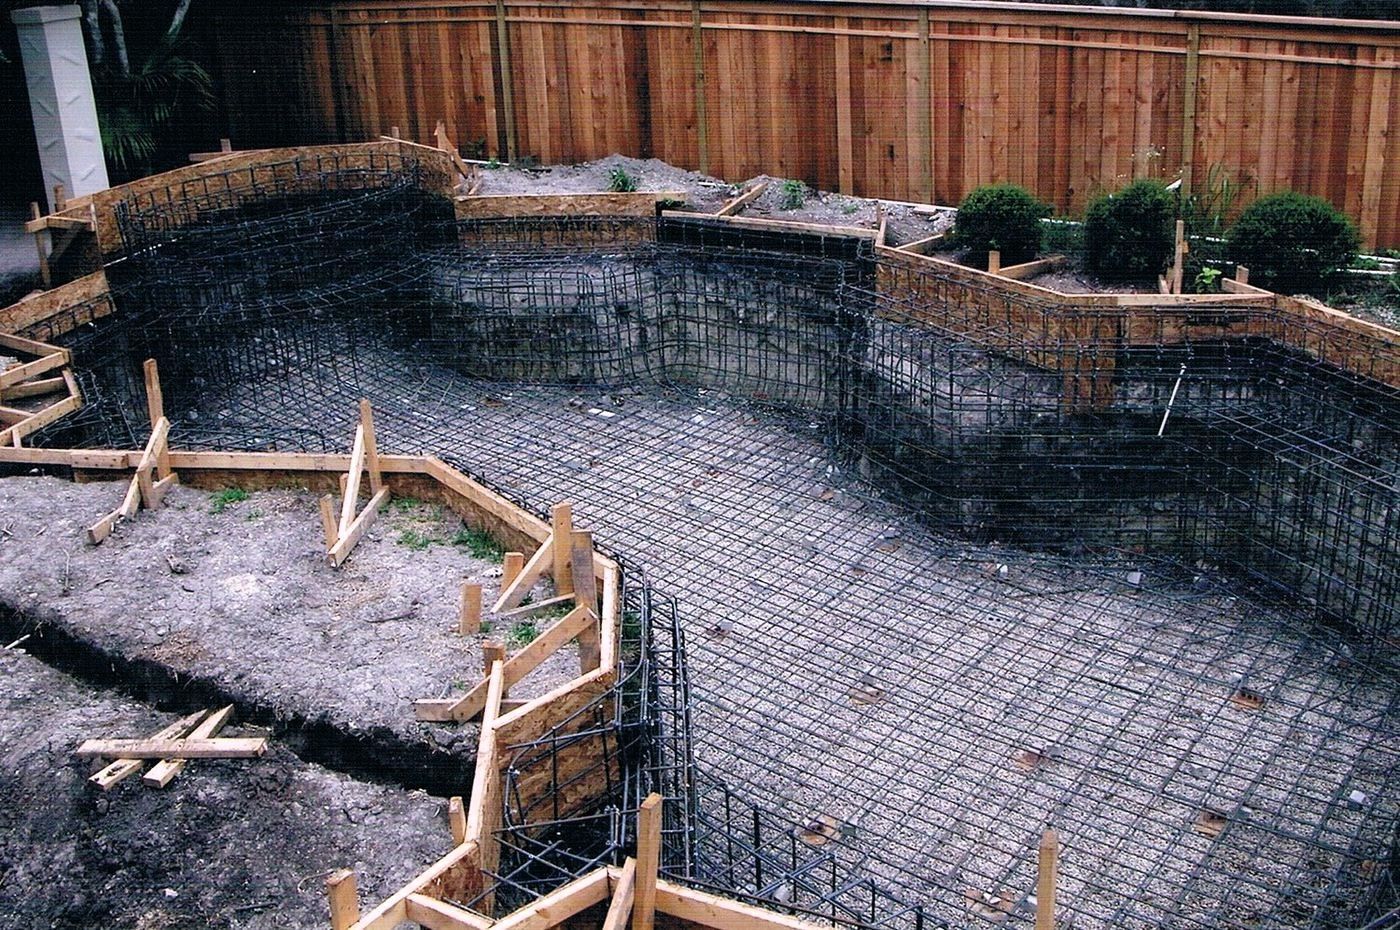
Step 4: Steel Installation
Reinforced 3/8” #3 steel is installed throughout the entire pool after excavation. Bricks are placed underneath the steel to position it correctly within the gunite shell. This reinforcement contributes to the pool's strength and longevity.
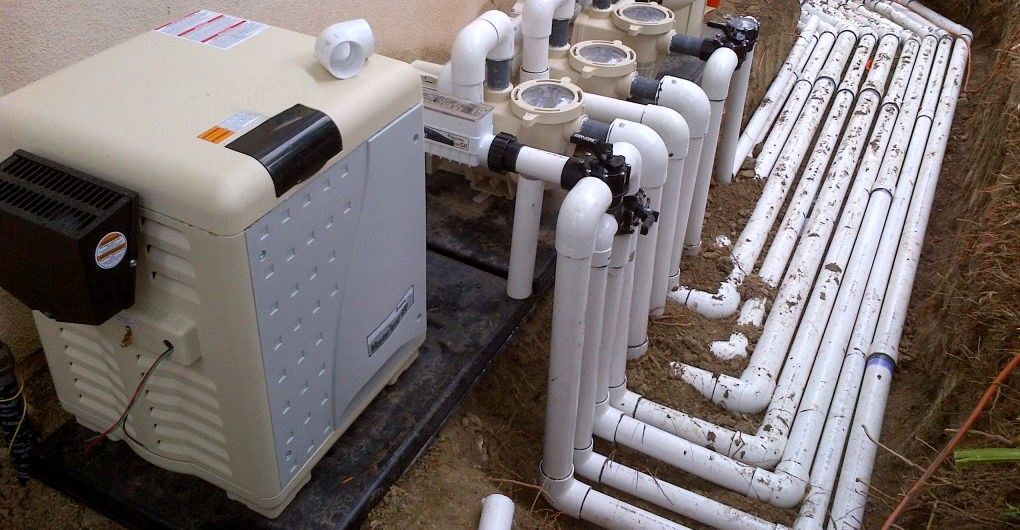
Step 5: Plumbing
The pool plumbing design incorporates 2” and 1 ½” scheduled 40 PVC. Separate valve-controlled lines are used for suction and return lines, preventing issues like cavitation. Plumbing is installed directly into the gunite shell for efficiency and protection.
Step 6: Gunite Shell
Gunite, a dry mix of sand and cement, is applied as the concrete shell of the pool. Gunite offers several advantages over other materials, including higher strength and durability. Curing typically takes approximately 7 to 28 days, ensuring a solid foundation for your pool.
Step 7: Tile & Coping
Ceramic tile is installed around the pool's perimeter, with additional tile accents on steps and benches. Coping options, including concrete cantilever and brick, provide a finishing touch to the gunite pool.
Step 8: Concrete Patio
The concrete patio is poured at 4000 psi strength and reinforced with #3 rebar. This robust foundation ensures the patio's durability. Optional materials like pavers, stone, or stamped concrete can be chosen to match your style and budget.
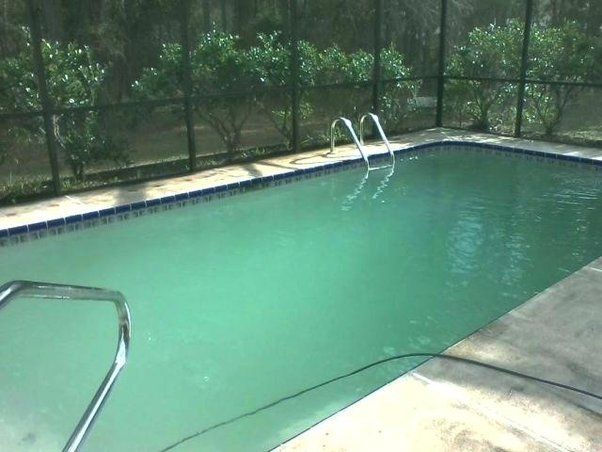
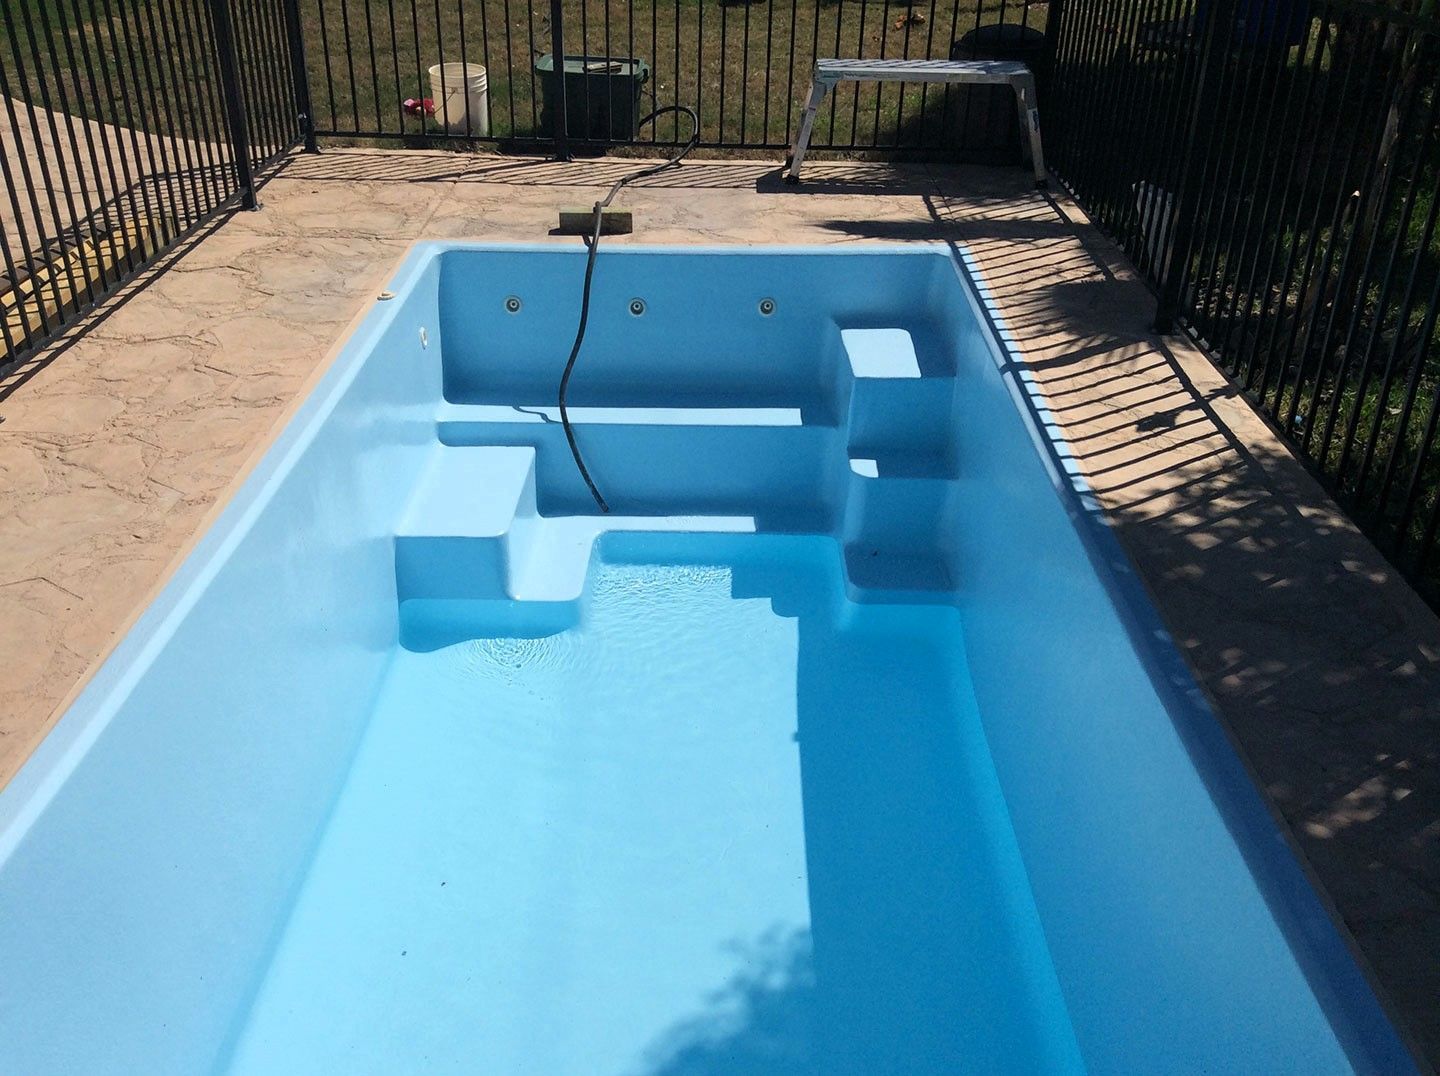
Step 9: Plaster
The final step involves plastering the interior of the pool. Standard white plaster remains a popular choice for its clean, light blue appearance. This finish is reliable when installed by quality contractors and properly maintained.
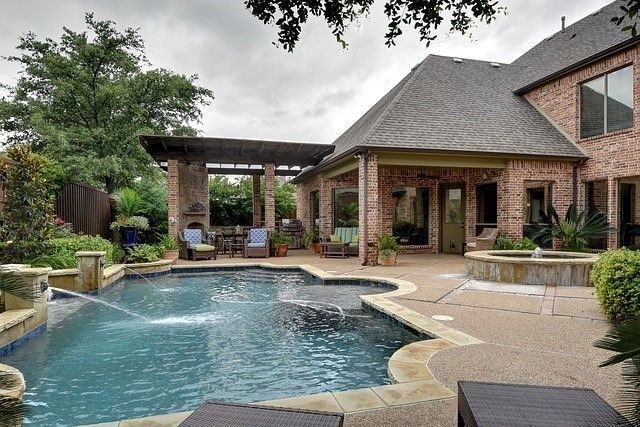
Conclusion
In conclusion, the gunite swimming pool construction process is a meticulous journey that demands precision, expertise, and attention to detail. Each step plays a crucial role in ensuring the pool's durability and longevity. By understanding this process, you can make informed decisions when embarking on your gunite pool construction project. Quality construction is the key to enjoying a beautiful and long-lasting pool.
FAQ Section
Q1: How long does it take for a gunite pool to cure?
Curing times can vary, but a general guideline is to allow the gunite pool to cure for approximately 7 to 28 days. This duration ensures proper hydration and strength development.
Q2: What are the disadvantages of a gunite pool?
One of the disadvantages of gunite pools is that they can take several weeks to install due to their custom on-site construction. However, the benefits often outweigh the time factor.
Q3: What goes on top of gunite?
Plaster is the final finish applied on top of the gunite structure. It provides a sealed and smooth interior surface for the pool.
Q4: How soon can you swim in a new gunite pool?
You can typically swim in a new gunite pool once the water chemistry is balanced, and the pool is properly filled.
Q5: How often do gunite pools need to be resurfaced?
The frequency of resurfacing depends on factors like maintenance and water chemistry, but it's common to resurface gunite pools every 10 to 15 years.
cONTACT uS tODAY
Contact Blackburn Group Pools
We can't wait to build you the pool of your dreams.